Nextcloud can be installed in multiple ways. Here, we will discuss how to Install Nextcloud on Web Panels via Web Installer.
For hosting websites and web-based applications we need a web server. Famous web panels like cPanel, ISPConfig, Cyberpanel, etc are web servers with user-friendly interfaces. We can install NextCloud on any web panel.
With the installation of web panels, all required services and modules are installed, so during the installation of Nextcloud, it should not be necessary to install any PHP modules. Moreover, we can quickly create databases for Nextcloud via the web interface.
So, how do we proceed? We will download a php install script from nextcloud. We will save and run it from the web panels hosting space. The script will check the dependencies, download Nextcloud from the official server, and unpack it, with the right permissions and the right user account.
Finally, it will be redirected to the Nextcloud installer page. rest of the setup needs to be done manually from the web interface.
In this guide, I will demonstrate how to install Nextcloud on the hestiaCP web hosting panel.
The steps we are going to follow:
1. Create Hosting Space on the HestiCP hosting Panel
2. Creating MySQL DB on the Panel
3. Download the Web installer Script from Nextcloud
4. Upload the script to the hosting space
5. Run the Setup Script from the Browser.
To Install Nextcloud on Web Panels via Web Installer, we need to create a hosting space for nextcloud, the space needs to be created with a web panel user, web space and database will be created with the user permission.
1. Create Hosting Space on the HestiCP hosting Panel
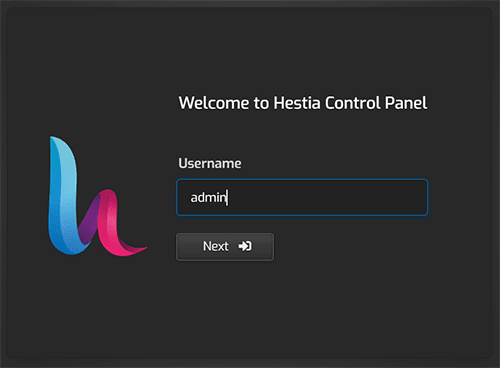
1. Login to HestiaCP Web Interface
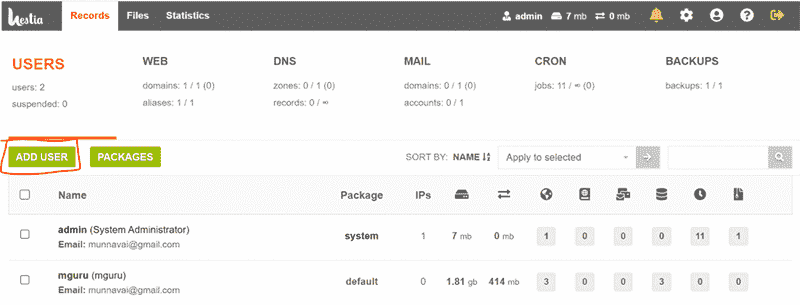
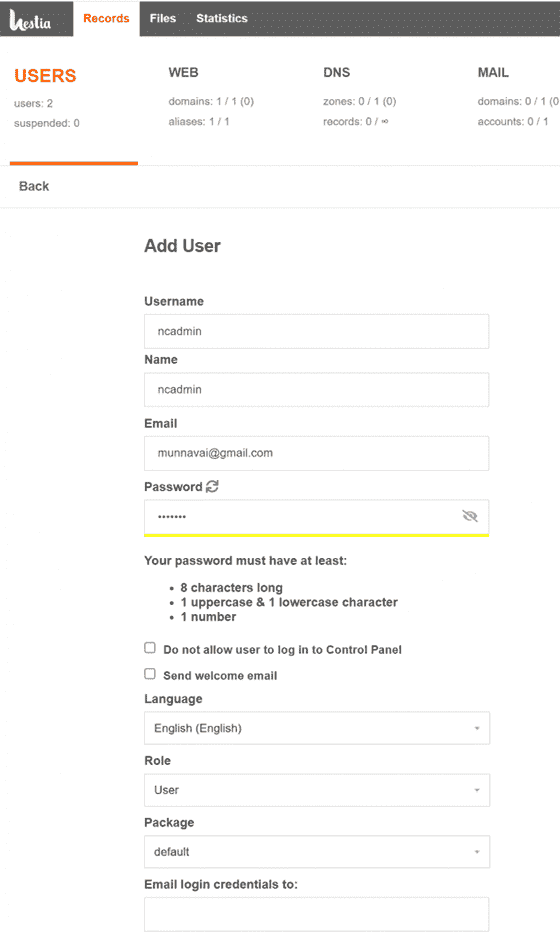
2. Create an User for the Nextcloud Hosting Space, this will be a Web Panel Only User.
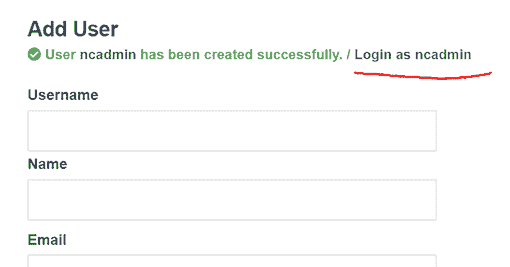
3. Provide User Name, Password, Email, etc. for the Web Panel User.
4. After the user is Created, log in with that user.
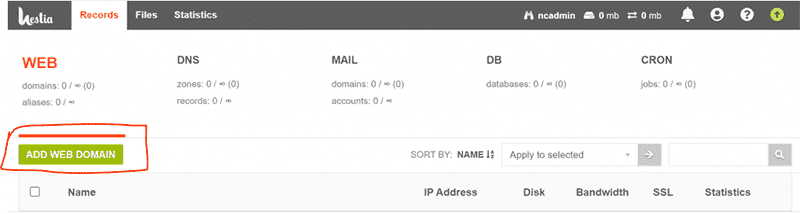
5. After logging in to the Panel, create the domain.
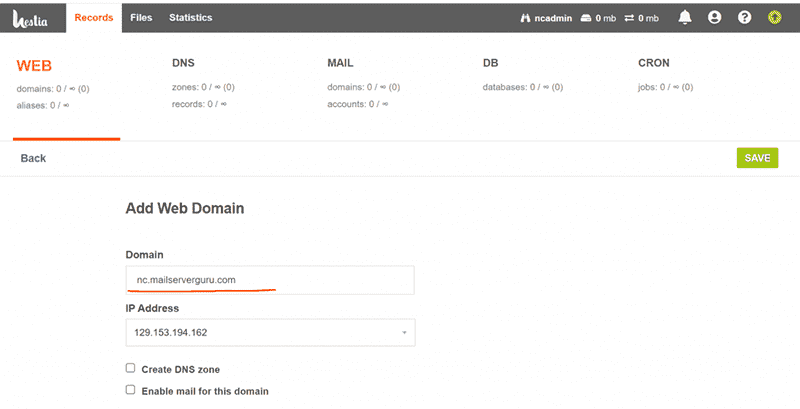
6. Provide the Domain Detail and Click the Save button.
2. Creating MySQL DB on the Panel
1. On the Web Panel, Go to DB Section. and Click add Database

2. Provide Database Details

3. Download the Web installer Script Nextcloud
– Download the script from Nextcloud Download Page.

4. Upload the script to the hosting space
1. To Upload files, we need to Click the Files tab.

2. The Files window will show the directory tree of the hosting space.
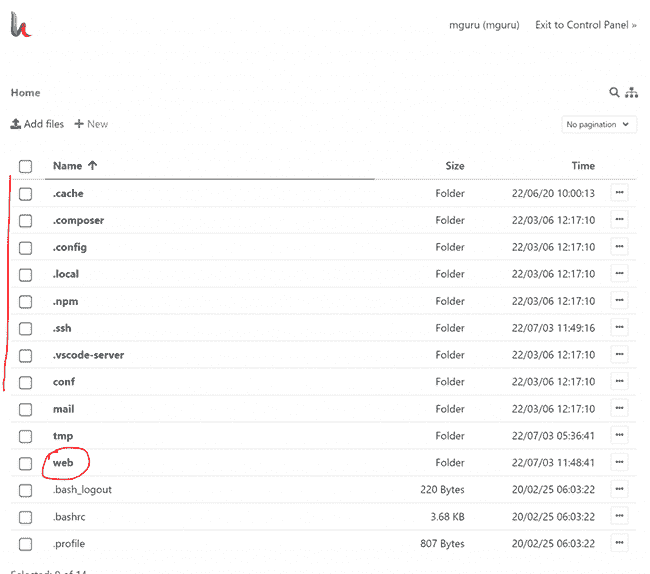
3. We need to travel to the root directory of the hosting space, then Click on “Add files”

4. Now, Upload the file.
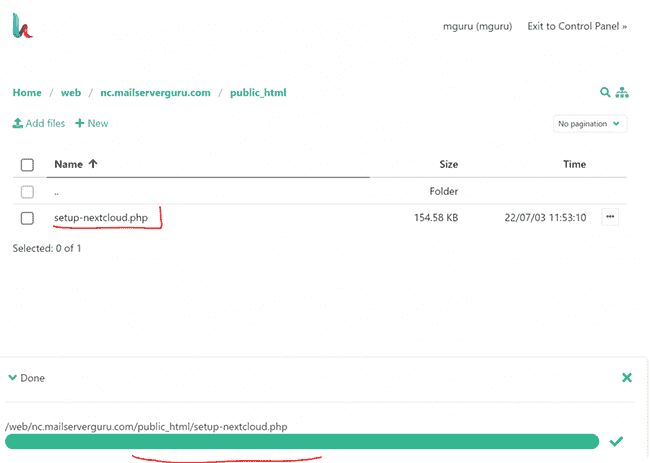
Our upload is complete, we need to fire the script from the browser.
5. Run the Setup Script from the Browser.
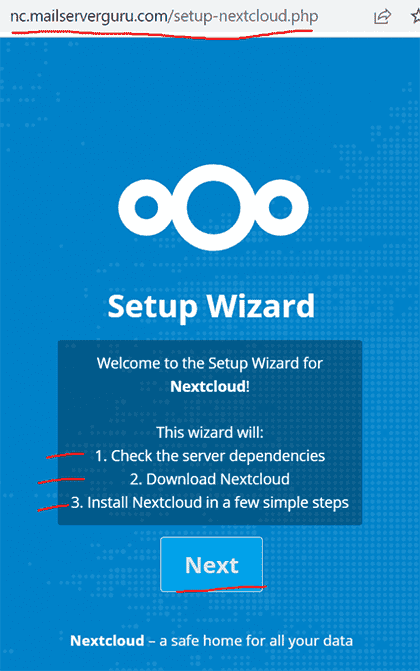
1. Run the script from the browser: http://[ip or domain]/setup-nextcloud.php
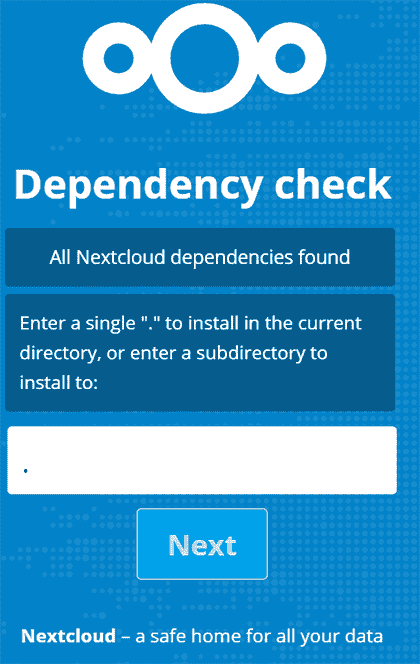
2. Dependency check completed, now enter only “.” into the textbox to install Nextcloud on the current root directory. then click Next.
3. If all is OK, the Nextcloud installation will succeed.
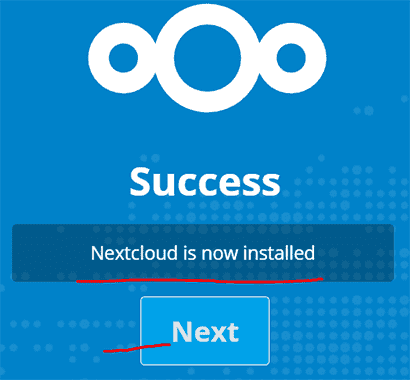
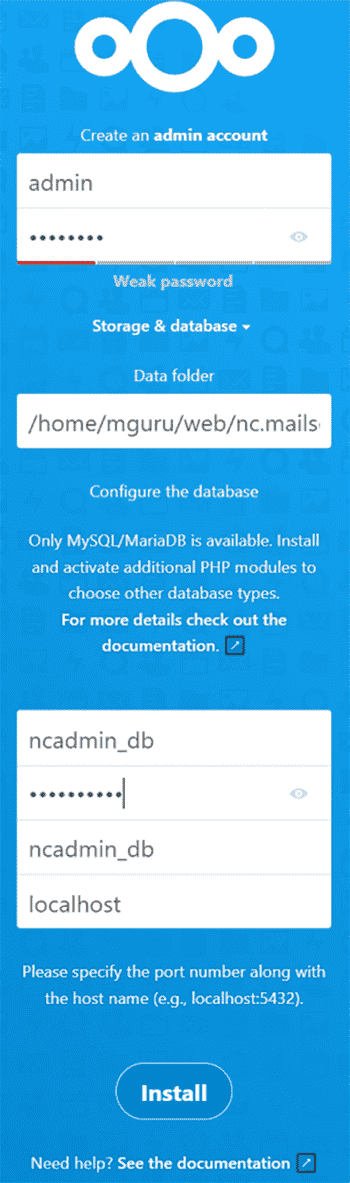
4. Now, if we Click Next, it will show the Nextcloud Configuration Page. We need to provide the nextcloud admin user/pass, and database details to complete the setup process.
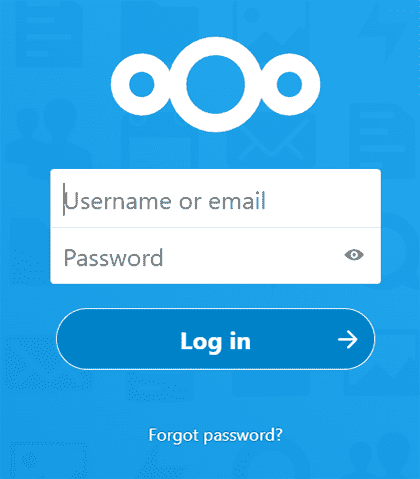
5. After providing all the details above, if we click next, the nextcloud login page will appear, that means, our installation is done and the system is ready for use.
Thanks !!


Responses